Create a Sapporta project
View as MarkdownSapporta projects use pnpm. If Node.js is installed but pnpm is not available,
enable pnpm through Corepack:
corepack enable pnpmCreate a project named task-app:
pnpm dlx sapporta init task-appThe Sapporta installation asks you to install the Sapporta skill. The skill is used both to build Sapporta projects and to operate them through coding agents. Ensure it is installed:
npx skills add https://github.com/jasim/sapporta-skills --skill sapportaStart the local development server:
cd task-apppnpm devThe console prints the local browser URL. This is the Vite frontend server. It
serves index.html and the React application, usually at:
http://localhost:5173The backend API runs at:
http://localhost:3000Sign up locally
Section titled “Sign up locally”Open the local browser URL printed by pnpm dev. A new project opens at the
signup screen when no signed-in session exists.
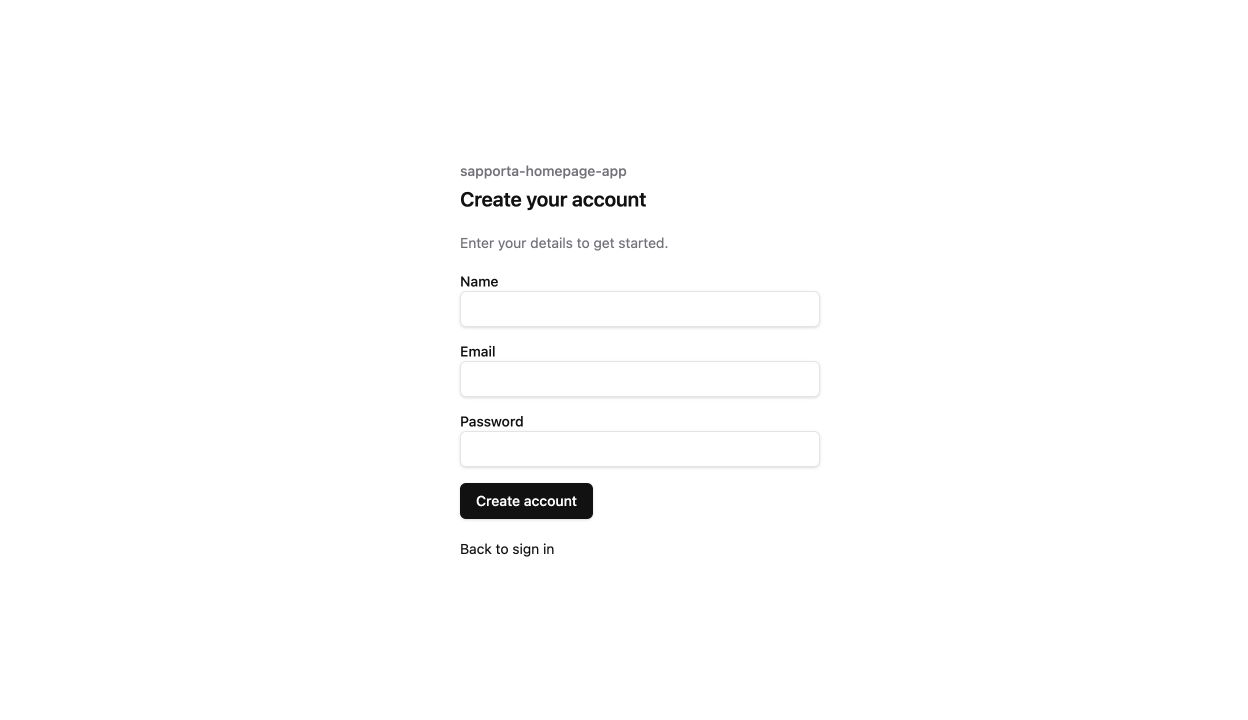
Enter a name, email address, and password. The account requires email
verification. In local development, the email server writes every message to
the pnpm dev console. Open the verification URL from the console to verify the
account.
Sapporta uses Better Auth for authentication. The authentication UI and related screens are present in the generated application and can be customized locally.
After verification, Sapporta creates the first workspace and assigns the first user as its owner. The app shell shows project navigation, generated table surfaces, the account workspace, and the starter welcome screen.
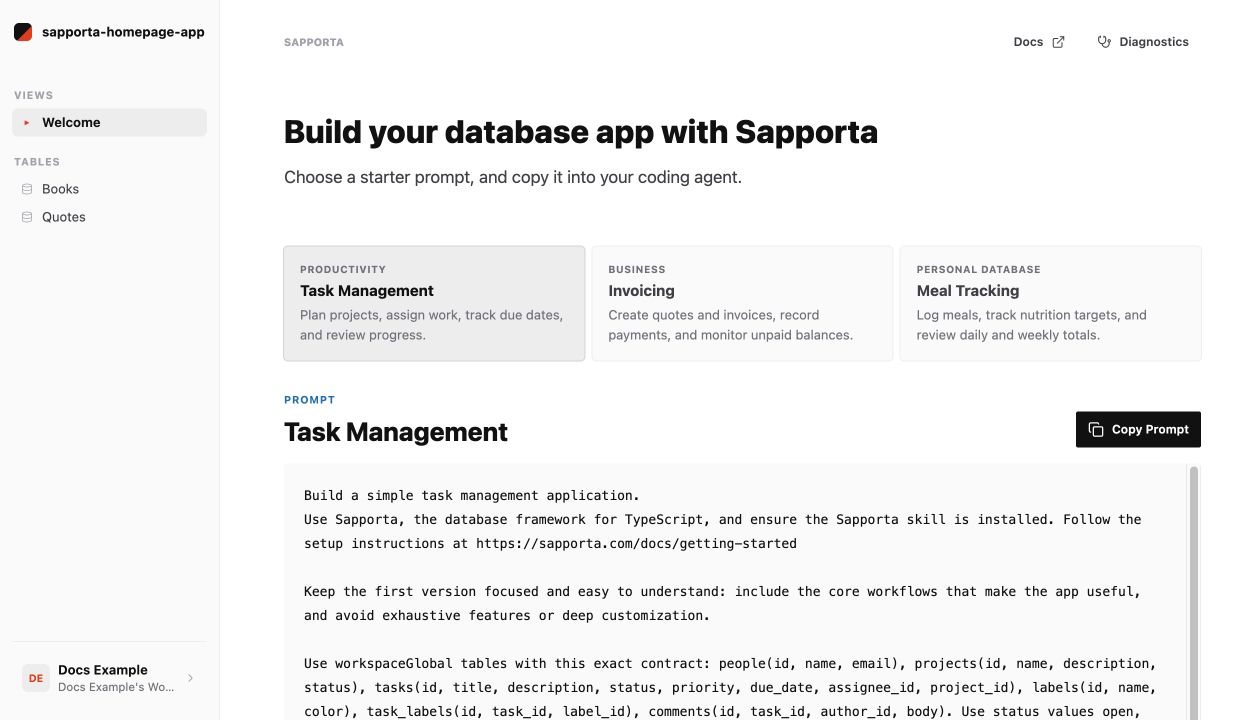
The project name and table list in the app shell come from the project on disk.
As tables are added to packages/api/schema/, the table navigation and
generated record screens update with the running application.
Continue with Tour the generated project.